Finalised Georgi Mount
The final version of a 3D printed mount
2020-08-23
Continued from 3D Printed Georgi Stand
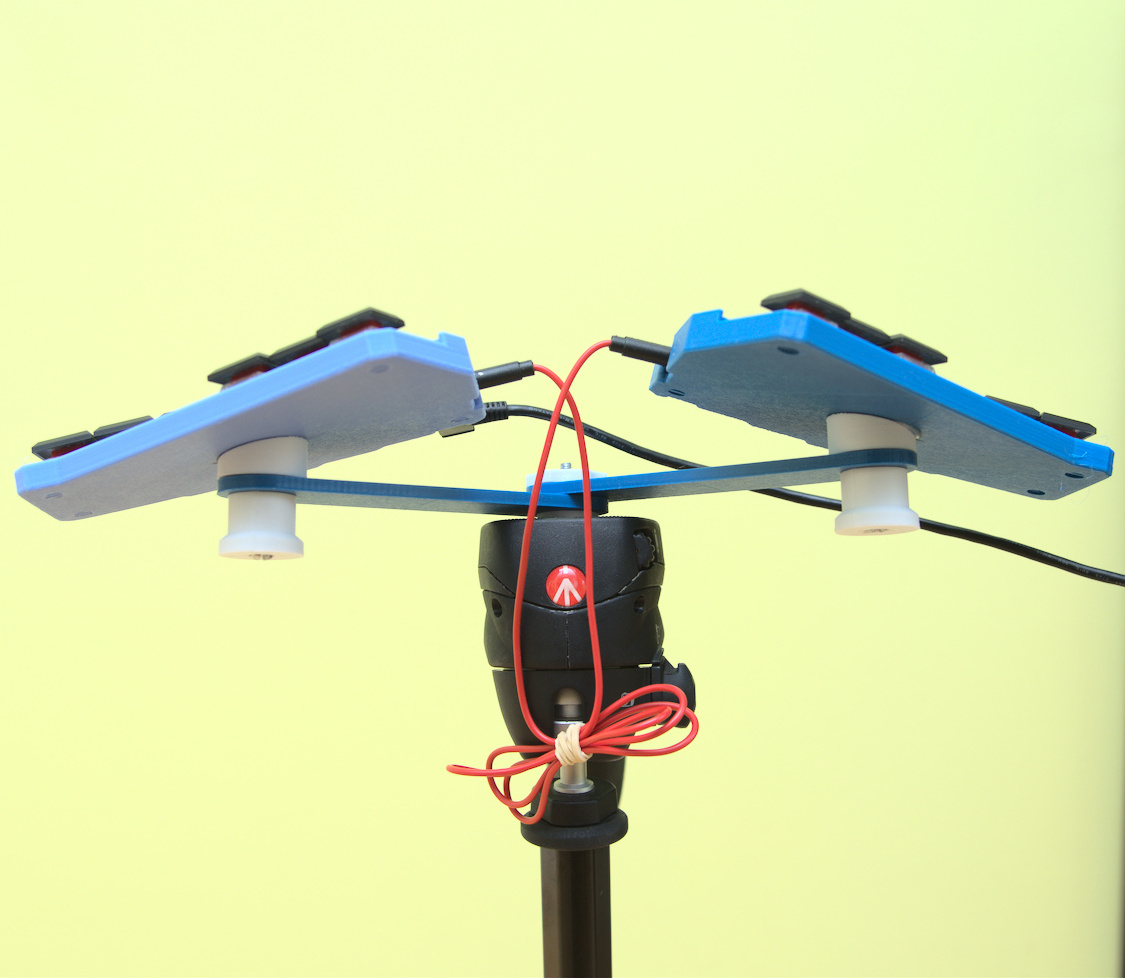
 I added knobs on the bottom of the screws so that I can adjust it on the go. This way, if I bring it with me, I don't have to bring a screwdriver set.

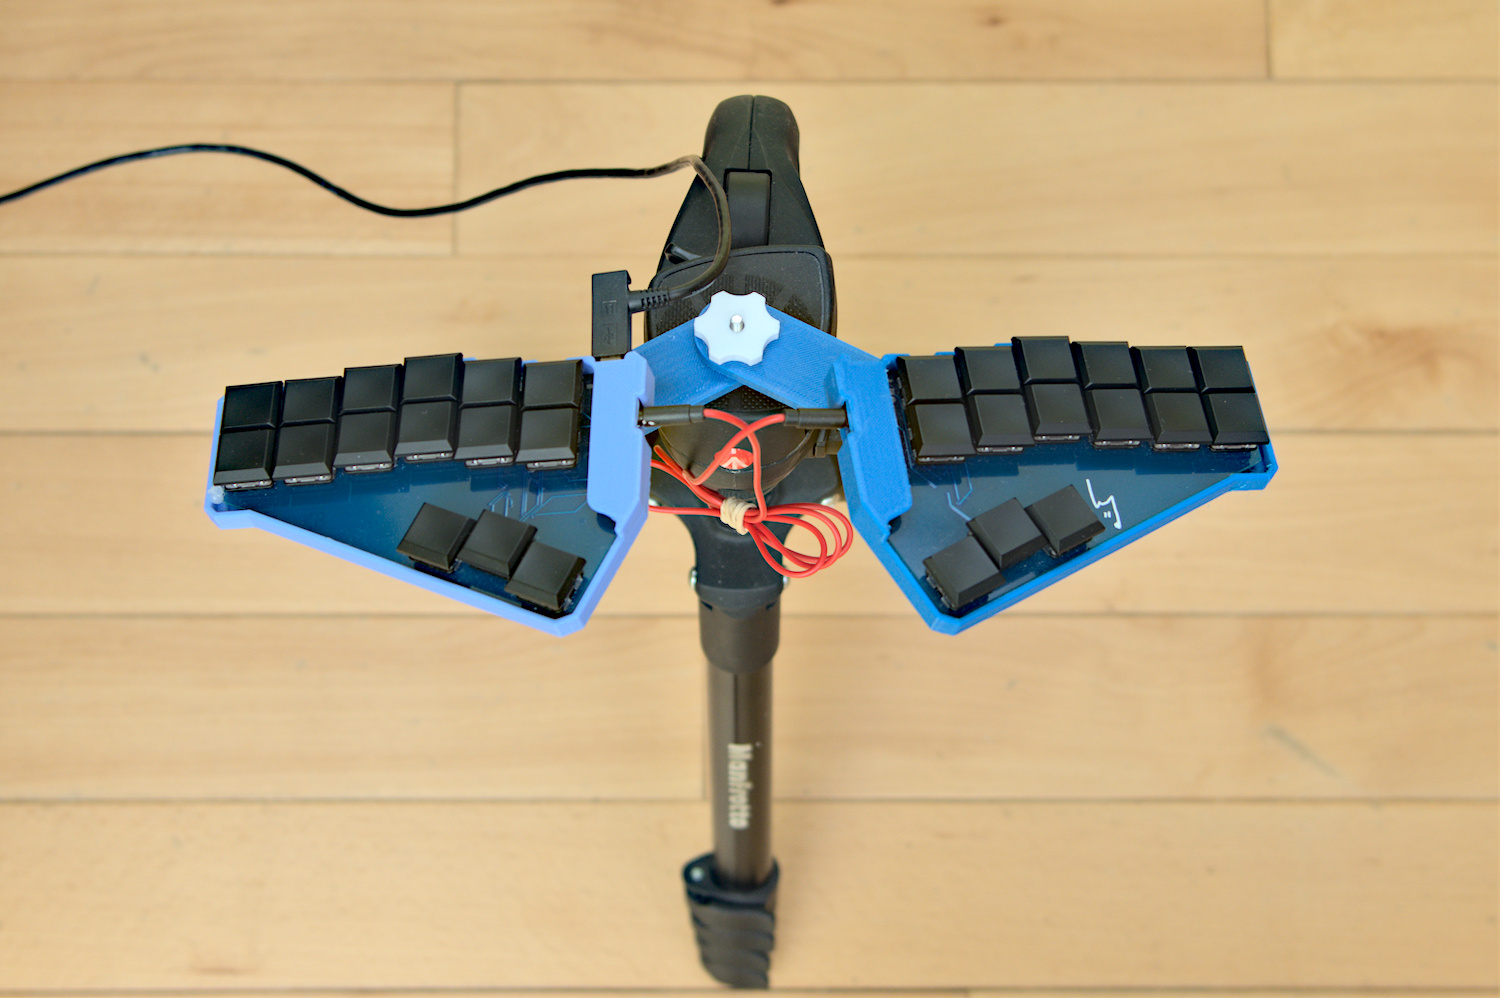
Alright! Here it is, the final version of my Georgi mount. I changed the cases to better ones that prevent the Georgi from falling out, I added knobs for better adjustment, and I also changed tilt of the wedges from 10 degrees to 15 degrees. Even though that little angle change is pretty tiny, I've found it to actually be significant. My forearms used to get tired after about an hour of steno, but with this, I can steno pretty much all day.
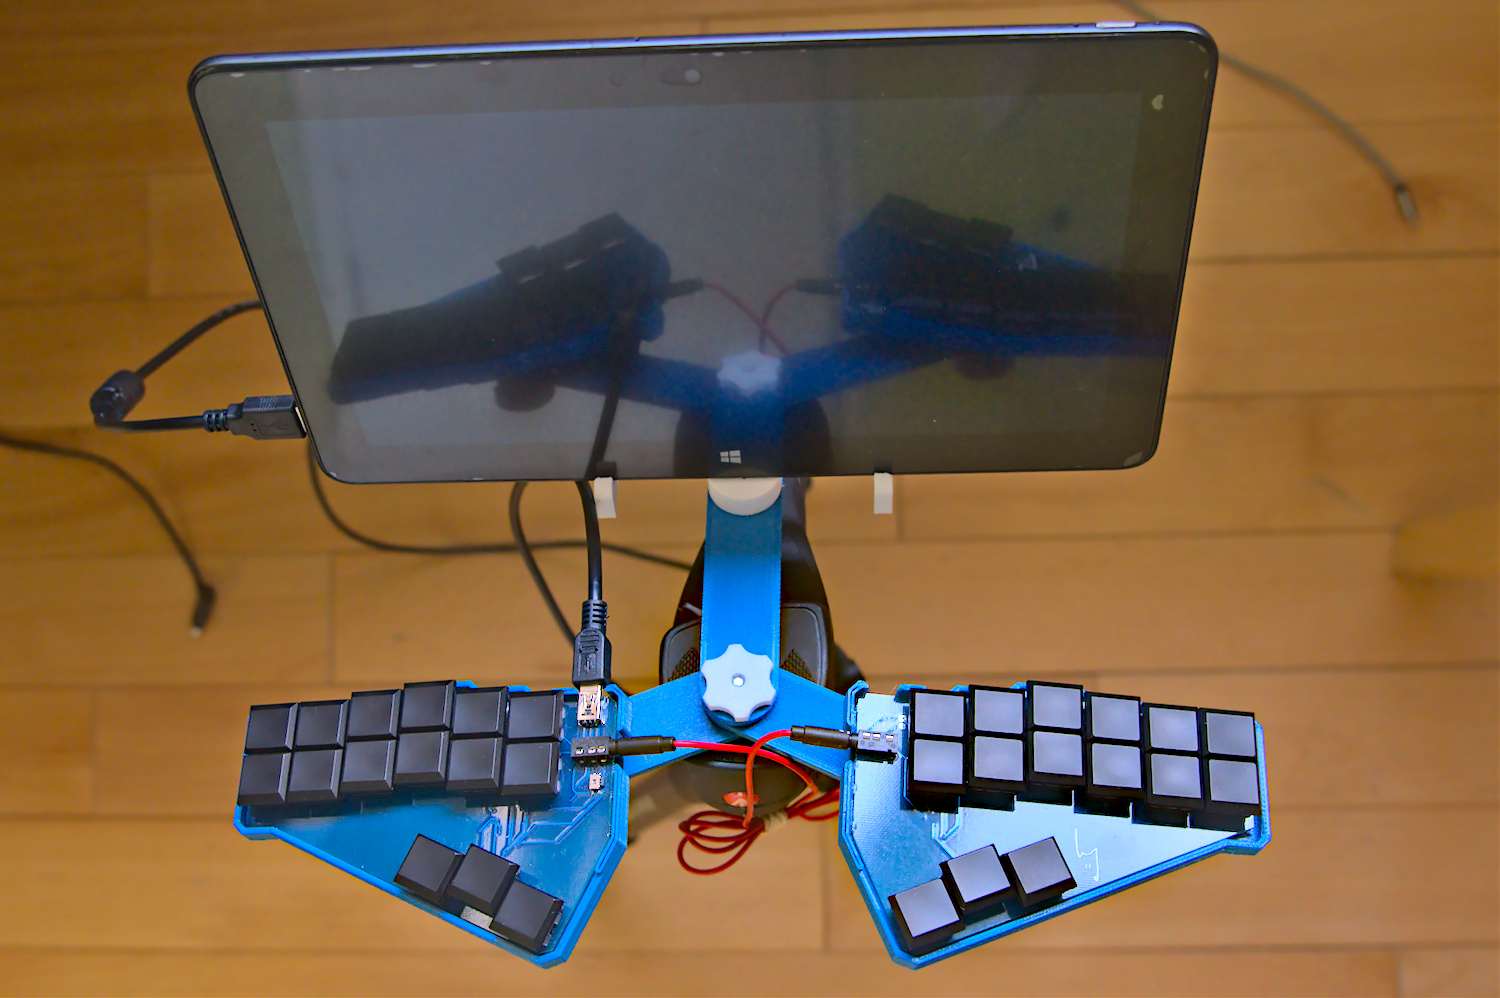
I also made a mount for my tablet. I didn't think this would be very useful, and right now I still don't know about that. It retrospect, it just seems like a silly thing to make, though it does look quite cool! However, I did bring my tablet on a road trip, and I didn't want to bring my laptop, so I got the chance to try it out.
 Somehow this looks better than what I originally anticipated.

Overall, it works, though it is kind of tiring having to look down at the tablet because of where the halves are mounted. To steno comfortablely, I have my hands fairly low, so that means the tablet is quite low as well. But I did manage to use it to practice, and talk to people when I was on that trip. It was much better than having to use the wireless keyboard that I use with that tablet.
One thing I found when I went on that trip is that this design is also really easy to pack up and put together. Here is a timelapse of assembly (playback at 4x speed):
Also, I found that the knobs extend down quite a bit, so I can't actually put my legs underneath the Georgi halves. I often have to spread my legs out, or just raise the tripod, which kind of defeats the purpose of this. Raising the tripod until the halves clear my legs make it slightly less comfortable to steno.
But all in all, I don't see this as a big deal. I don't steno for hours everyday (yet!) So I shouldn't have to worry about it for now.
You can see there's a tiny bit of flex as I steno, but that normally doesn't hinder my ability to hit the keys accurately reliably. If I were to get up to speeds of 200 words per minute, I think that would be a bit of a problem, but for now it's just fine. And I could always swap out the plastic arms for something stiffer, like metal plates in the future.
I'm pretty happy with how this turned out, so you can get the 3D models here (ready for slicing) and the case you can get from here. Unfortunately, this will only work with a specific type of tripod. It's one with a quick release mechanism that's not really used on many tripods. This is the sort of mechanism that I designed the mount for.
And also, if you want to build this, you might have to tweak the files yourself to fit the screws that you may already have. I got my screws from a machine screws kit, and I don't actually know the thread/size of them, so I can't easily say "buy these screws".
To be honest, I hope this serves more as an inspiration rather than a how to guide on making a Georgi stand, especially since it requires a 3D printer anyway. If you have access to a 3D printer, you're likely already familiar with tweaking STL files and designing your own models!
If you want a Georgi stand that is really easy to make with no fuss, the one I linked in my older page is perfect. Here it is again. All it requires is just a little bit of assembling after buying the right parts, and you're done.
But anyway, that is my journey into building a steno stand. If nothing else, I hope this inspires you to create something better what I have made.